
Products
How to encode Apple Immersive Video for Vision Pro, the Amplium way

This guide walks through the full workflow, from the DaVinci Resolve export dialog to the finished .aivu file. It takes five steps and three apps: DaVinci Resolve, Topaz Video AI, and Amplium-Mac.
What you need
Step 1: Export the master from DaVinci Resolve
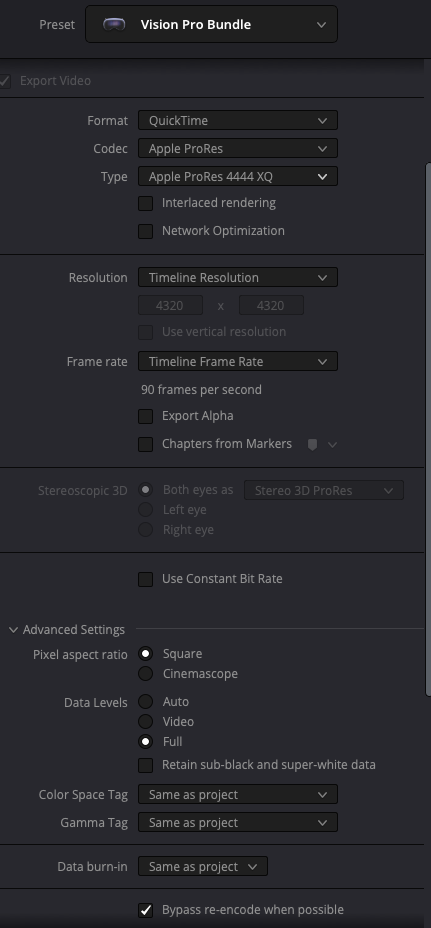
Start with your finished timeline in DaVinci Resolve. Choose the Vision Pro Bundle preset in the Deliver page. It exports the immersive video, the spatial audio, and the metadata files Apple Vision Pro needs in one pass.
For the video, set the format to QuickTime and the codec to Apple ProRes 4444 XQ. Export at 4320 x 4320. Keep the timeline resolution and frame rate, so the master comes out at 4320 x 4320 and 90 frames per second, which is what Apple Immersive Video expects and what every later step in this guide assumes. ProRes 4444 XQ is the highest quality ProRes flavor and keeps every bit of color information for the upscaling and encoding stages that follow.
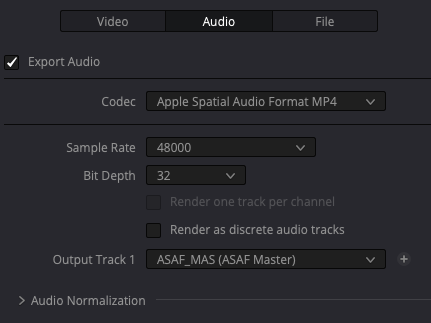
On the Audio tab, set the codec to Apple Spatial Audio Format MP4 (ASAF) with the output track set to ASAF Master. This is the spatial audio format Apple Immersive Video uses, so it can be passed straight through to the final file.
When the export finishes you will have four files. DaVinci Resolve names them after your project; we renamed ours to keep this guide easy to follow:
- video.mov: the immersive ProRes master with both eyes in one file
- audio.mp4: the ASAF spatial audio
- primary.aime: the Apple Immersive Media Embedded metadata, which describes the camera and lens calibration
- primary.fcpxmld: the timeline metadata bundle
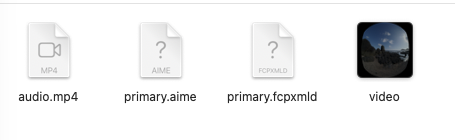
Keep all four together. The encoder needs the audio and the .aime file, and it can use the .fcpxmld too.
Step 2: Split the master into left and right eyes
Open Amplium-Mac and go to the Decoder tab. Drop in the immersive ProRes master and click Export Eyes.
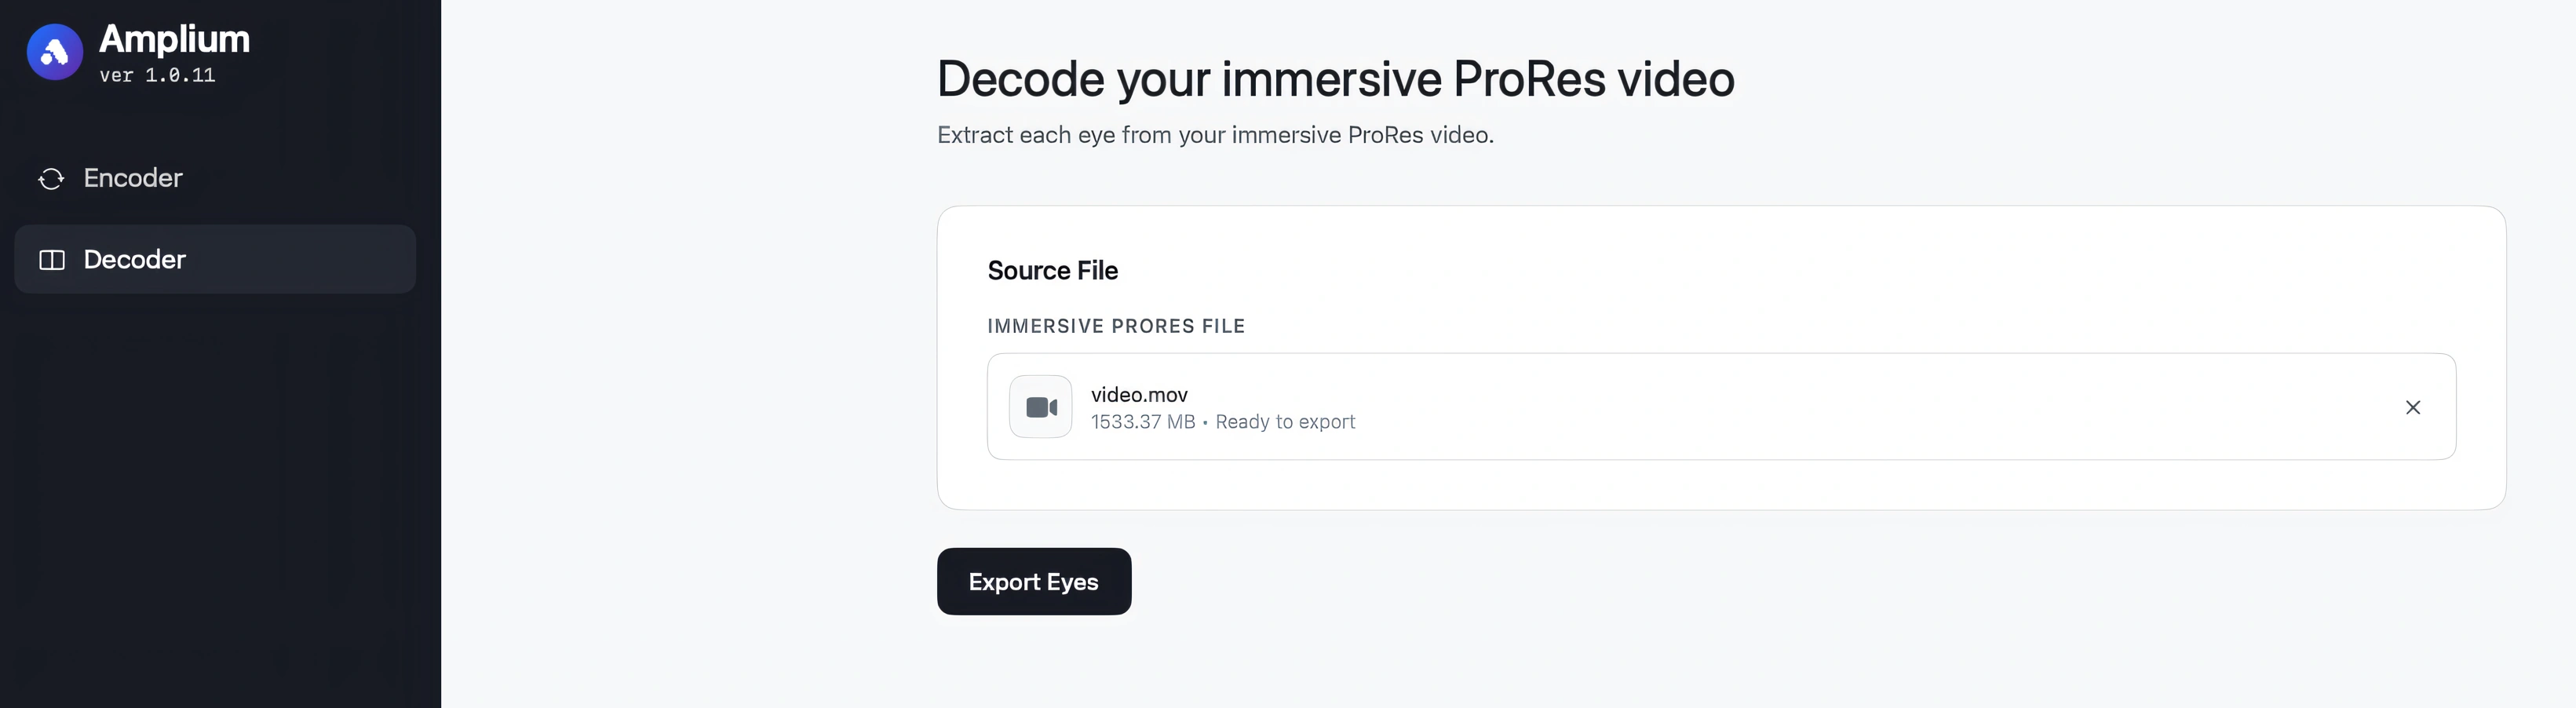
The decoder extracts each eye into its own ProRes file. You get video_left.mov and video_right.mov, ready for per-eye processing.
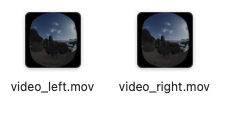
We split the master because Topaz Video AI upscales one eye at a time.
Step 3: Upscale each eye with Topaz Video AI
Load both eye files into Topaz Video AI. In Codec settings, keep the output as ProRes 4444 XQ in a mov container so nothing is lost between tools.
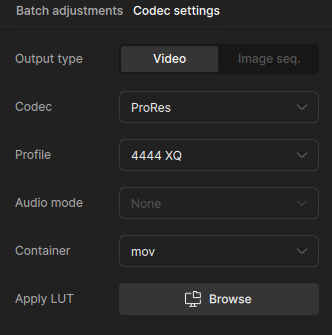
Under Enhancement, set a custom output resolution with the width at 7200 pixels and the aspect ratio locked, which brings each eye from 4320 to 7200 pixels wide. Choose the Iris model, which we have found produces the cleanest, most natural detail on immersive footage.
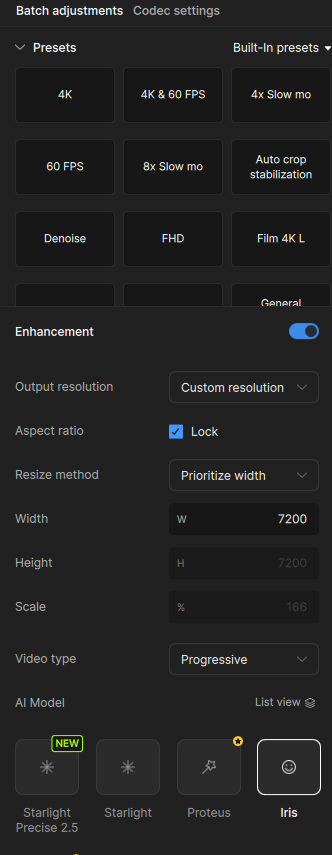
Process both eyes with identical settings. Topaz saves each result next to the source as <filename>_iris2.mov, so you end up with one upscaled file per eye.
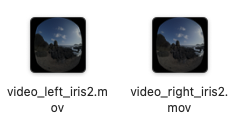
The extra resolution gives the encoder more real detail to work with and is a big part of why the final image looks so sharp on the headset.
Step 4: Encode with Amplium-Mac
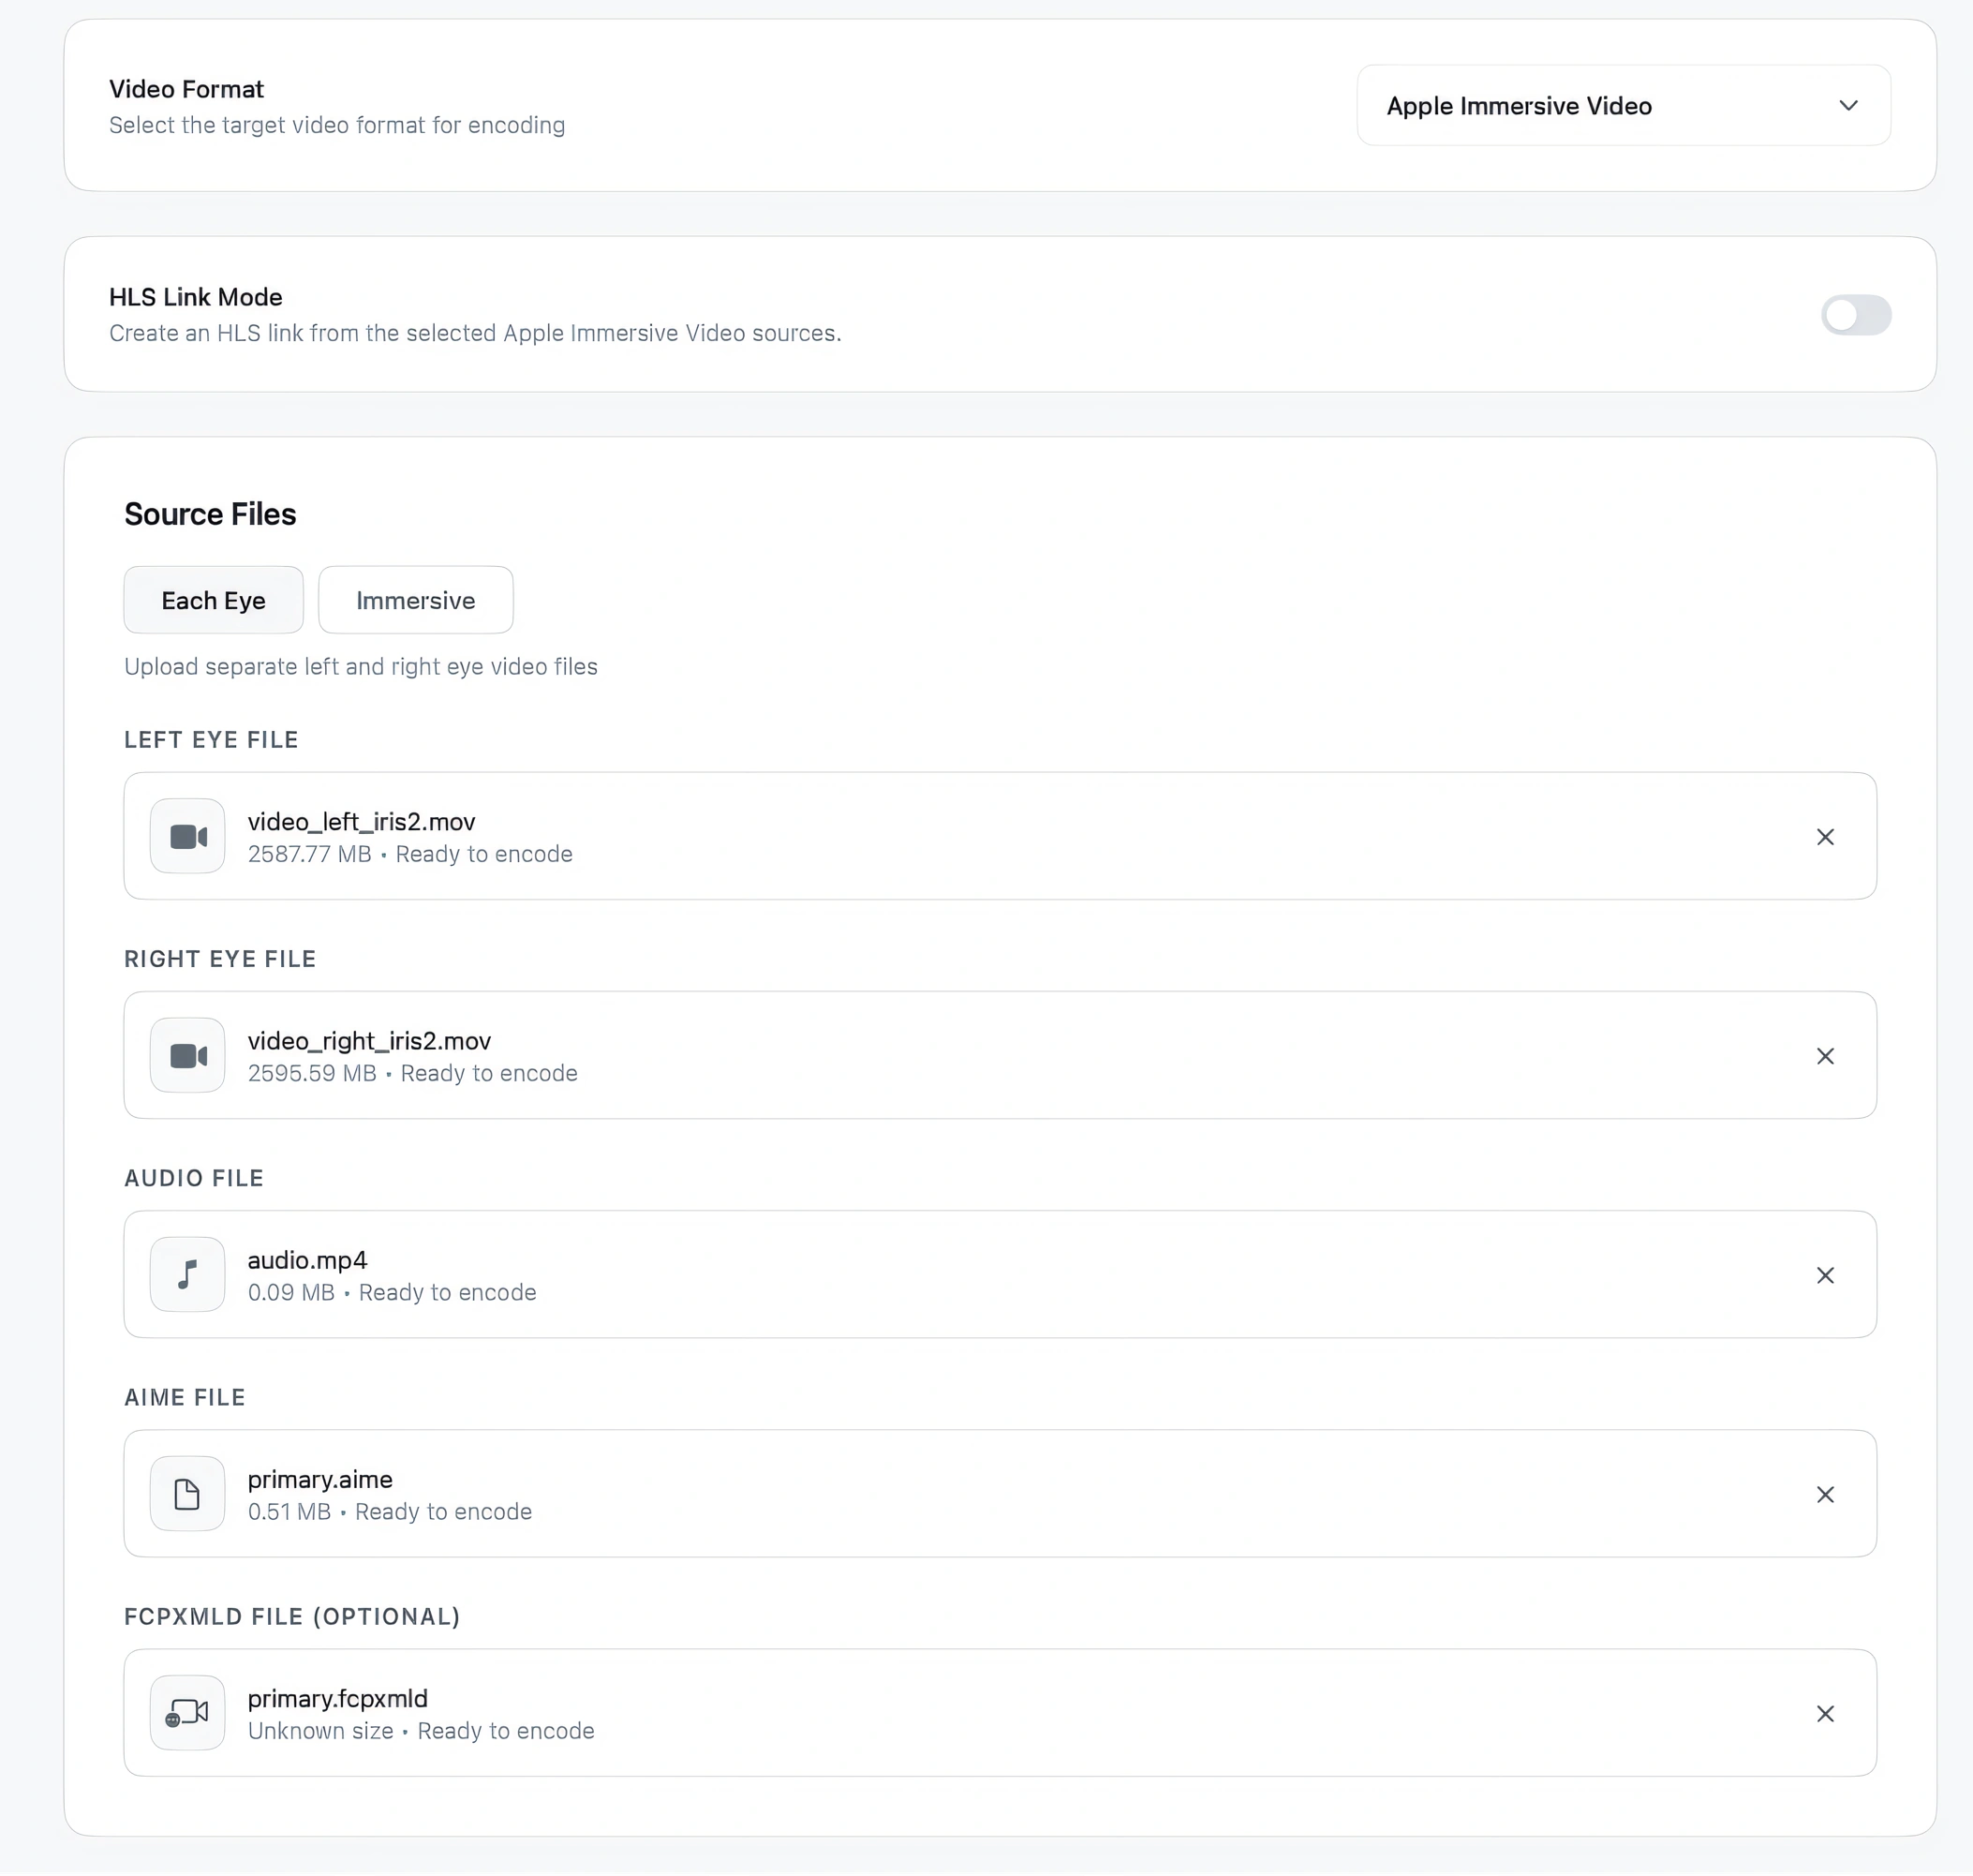
Back in Amplium-Mac, switch to the Encoder tab and set the video format to Apple Immersive Video. Under Source Files choose Each Eye, then add:
- the upscaled left eye file
- the upscaled right eye file
- audio.mp4 from the DaVinci Resolve export
- primary.aime from the DaVinci Resolve export
- primary.fcpxmld (optional)
Next come the encoding settings. The defaults are what we recommend for a final export: software encoding, bitrate mode with a 200 Mbps target, a 4320 x 4320 output, and static foveation turned on. Static foveation concentrates quality where the eye actually looks in an immersive frame instead of spending bits evenly on the edges.
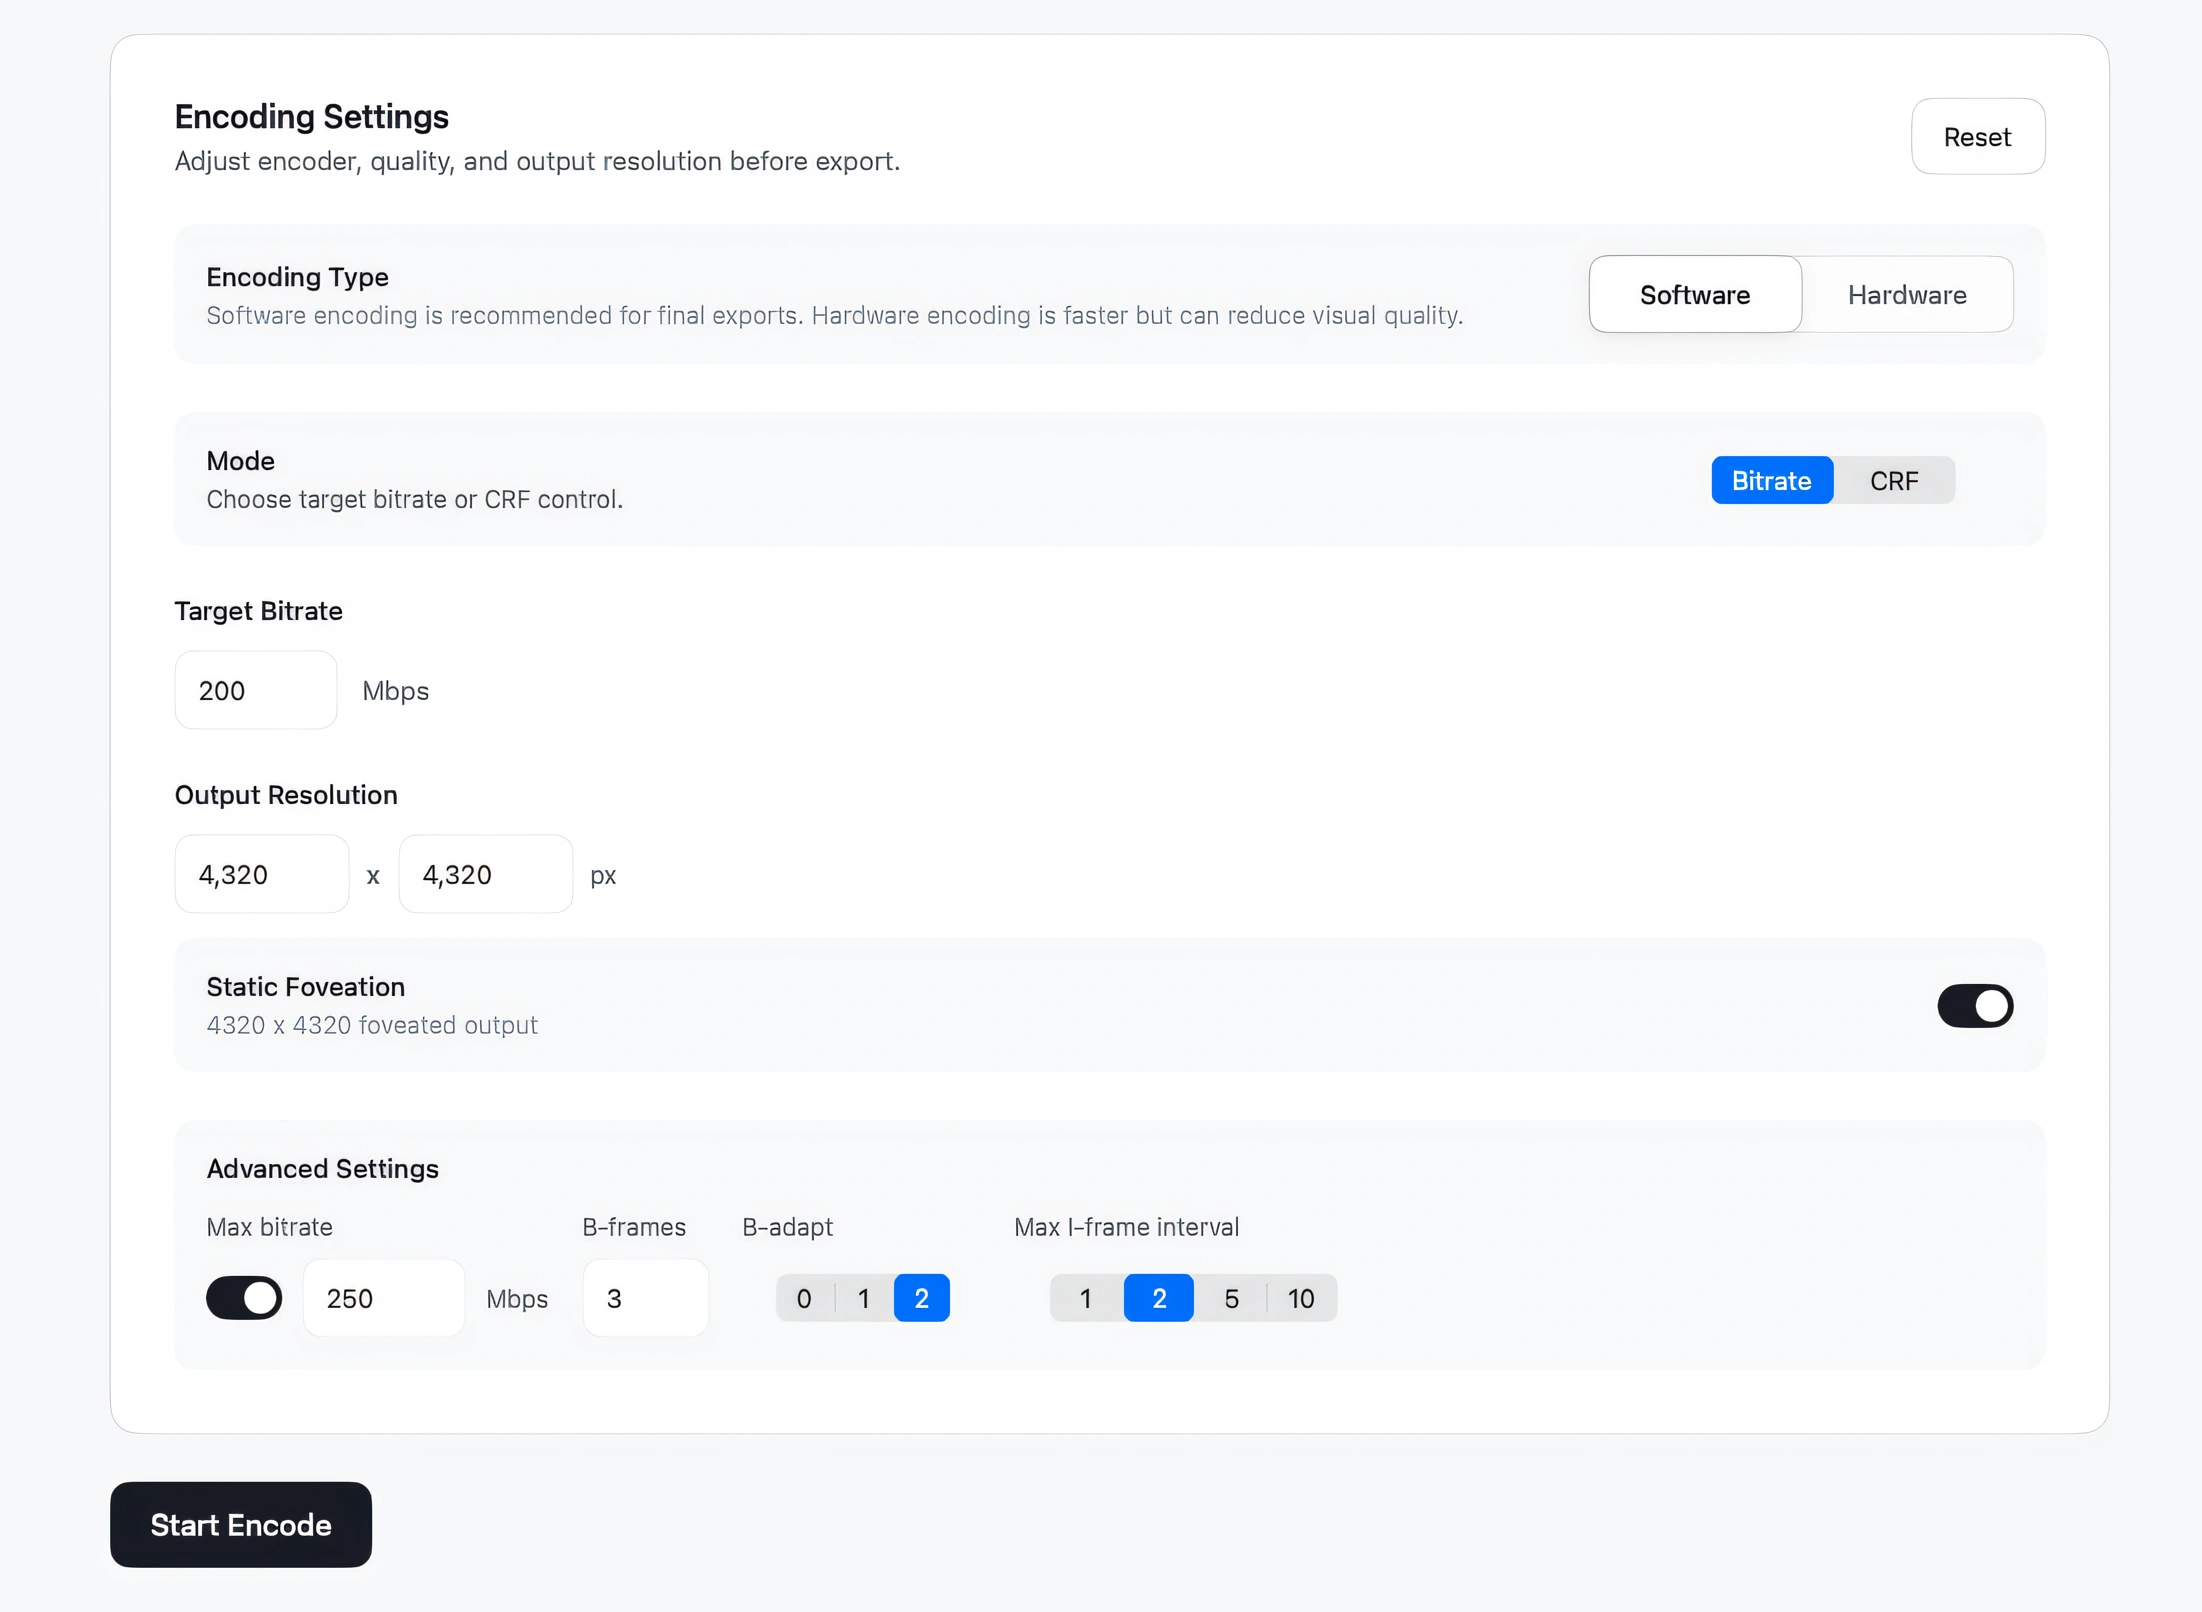
Click Start Encode. The encode runs in three stages, and the progress panel shows which stage is active and how far along it is.
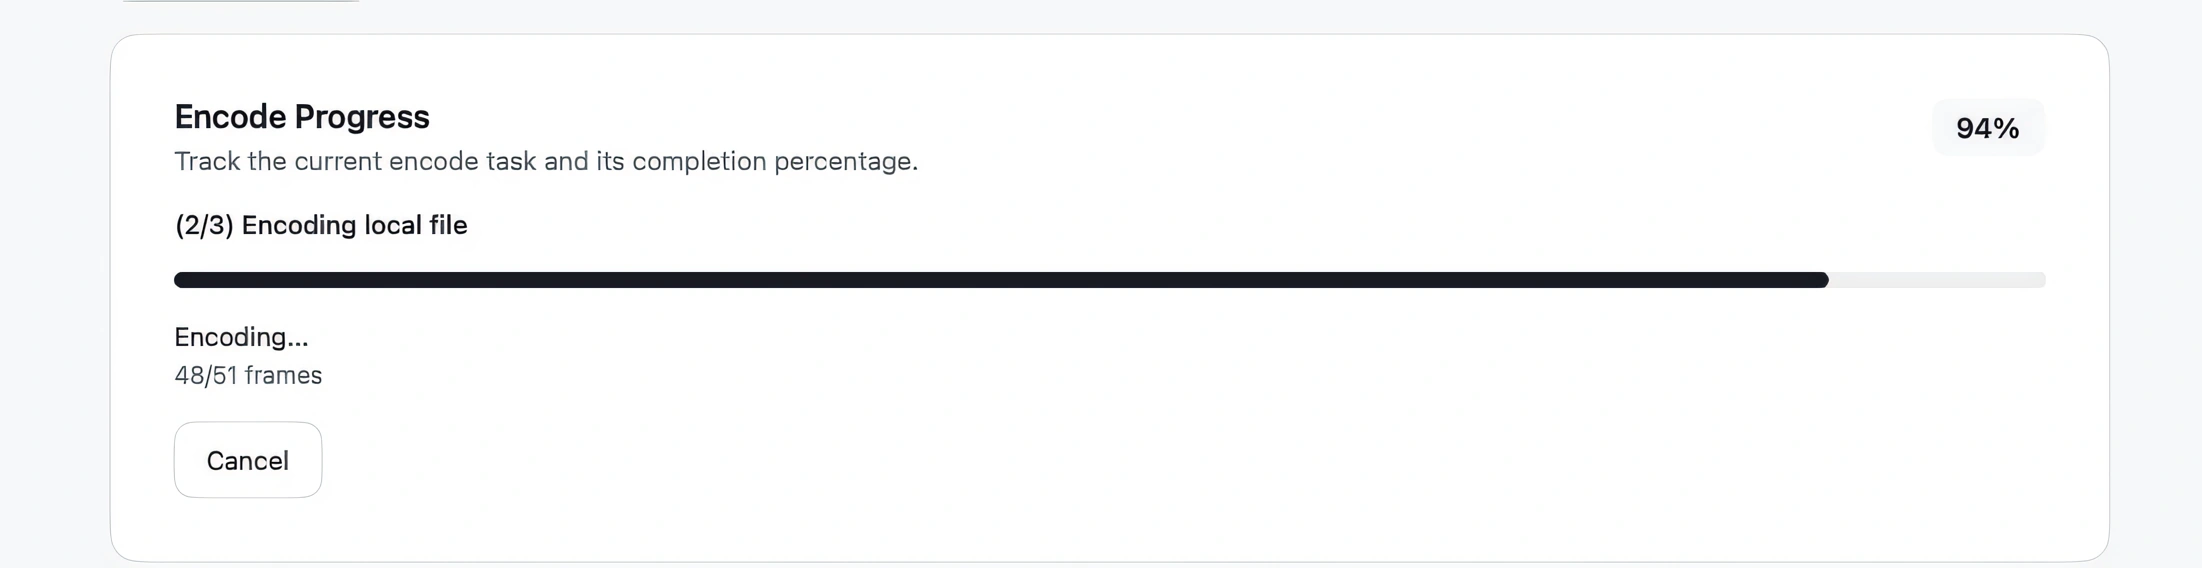
Let all three stages reach 100 percent. When the last one finishes, Amplium confirms that the .aivu file has been saved and shows the output path. Click it to jump straight to the file in Finder.

Step 5: Deliver the .aivu file
That is the whole pipeline. The output is a single output.aivu file: an Apple Immersive Video with both eyes, spatial audio, and the metadata Apple Vision Pro needs, ready to play, share, or submit.

Bonus: publish as HLS instead
If you want to stream instead of ship a file, turn on HLS Link Mode in the encoder before you start. Amplium will produce an HLS package from the same Apple Immersive Video sources.

Why this workflow
Two things make the difference. Upscaling each eye to 7200 x 7200 in Topaz Video AI recreates the high-quality 40 PPD (pixels per degree) that Apple Immersive Video is designed for. Then Amplium-Mac encodes that master with loss reduced to the absolute minimum, so the detail you gained survives all the way to the headset.
It is the cleanest path we know from an edit to Apple Vision Pro, and it is the same pipeline behind every title we encode.